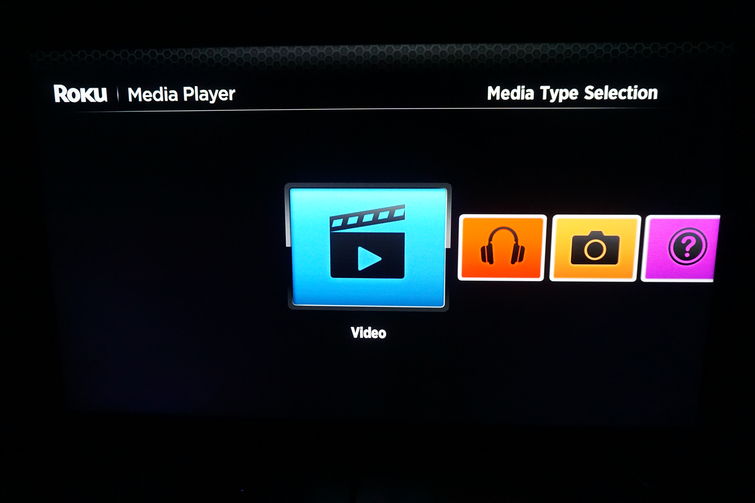
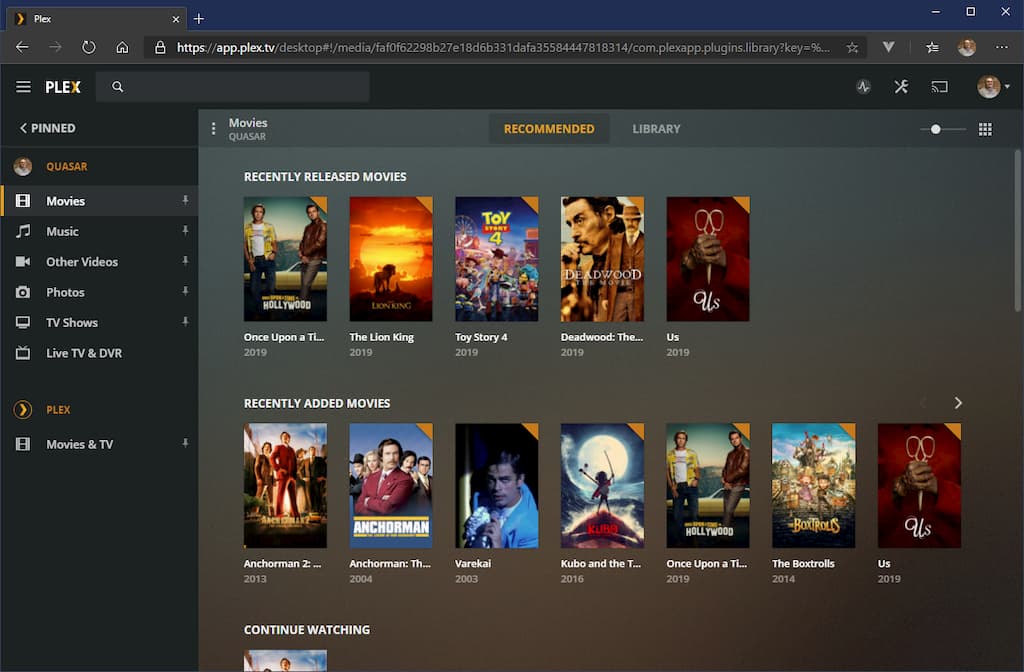
Last year, I invested in a Plex Premium lifetime subscription, and I really like it. Previously, I had been relying on my Roku player’s built-in Media Player app to play video files stored on a network share on my PC, which it was a pain to navigate.
I was also just storing all my video files on my main PC, which I use for work and software development, which required that my PC was always-on, not rebooting or installing a Windows Insider build, not joined to a VPN or anything like that, or else anyone in my house watching a video via Plex would suddenly lose their stream. So it was less than ideal.
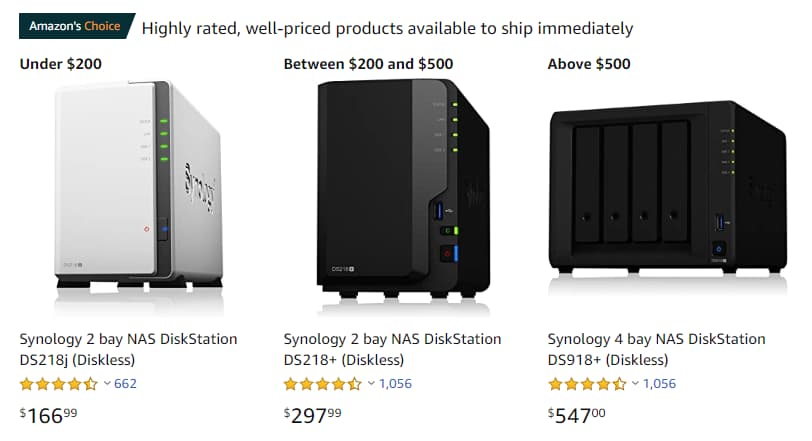
I had seen quite a few people who I follow on Twitter talking about getting Synology DiskStation devices, which can be used as Plex servers. However, I balked at the prices of these, which runs upwards of $500 on Amazon, and that’s before you purchase hard drives to put in the thing, and they would be useless without them.
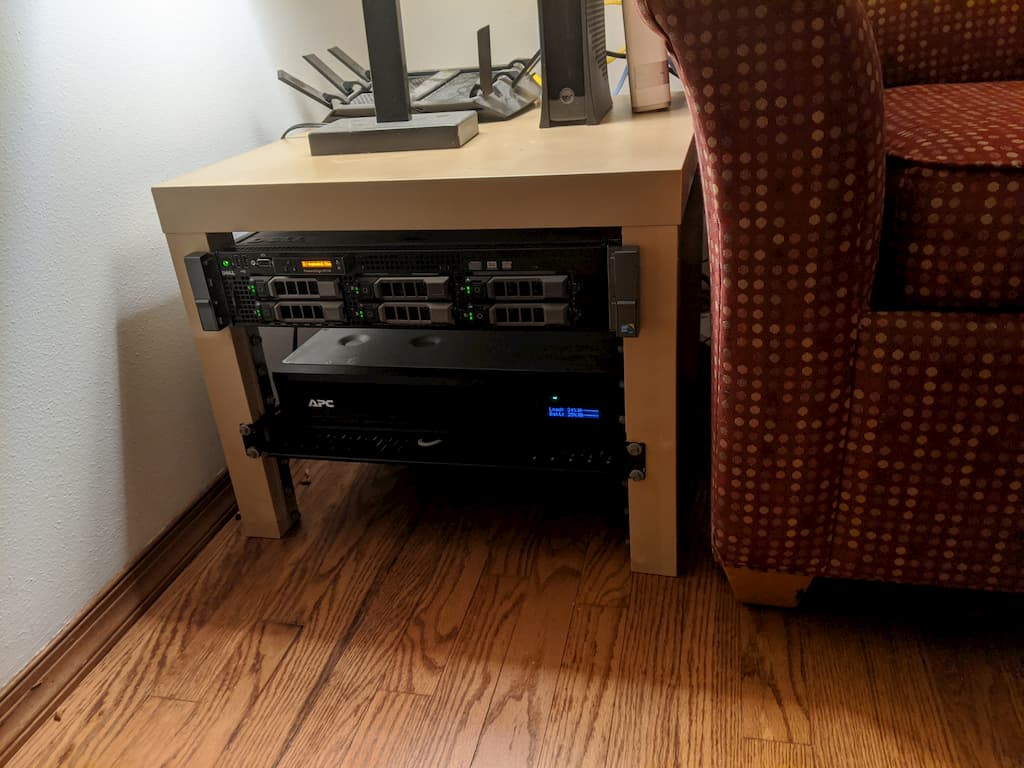
I had also previously seen some articles about people repurposing IKEA “LACK” end tables into makeshift server racks, since they happen to be the exact right size for holding rackmount equipment. A thought began percolating in my mind: could I find a used or refurbished rackmount server for cheaper than a Synology device plus disks, and build a LACK Rack using one of the LACK tables I already had in my house?
Requirements
One of the other issues I had with the Synology DiskStation is that I have an over-the-air TV antenna mounted to my house, and I wanted to keep using the TV tuner card I had in my main desktop PC in my dream Plex server device. You can’t plug PCIe cards into Synology devices, so that was another dealbreaker for me.
I also wanted to be able to be able to add a dedicated GPU to assist in transcoding performance in Plex. A lot of smaller 1U type rackmount servers don’t have room for additional PCIe cards or GPUs so I knew I needed something that was at least a 2U formfactor.
Solution
After quite a bit of hunting around and squinting at various pictures of rackmount servers, I decided a refurbished Dell PowerEdge R710 ticked all the boxes that I needed.
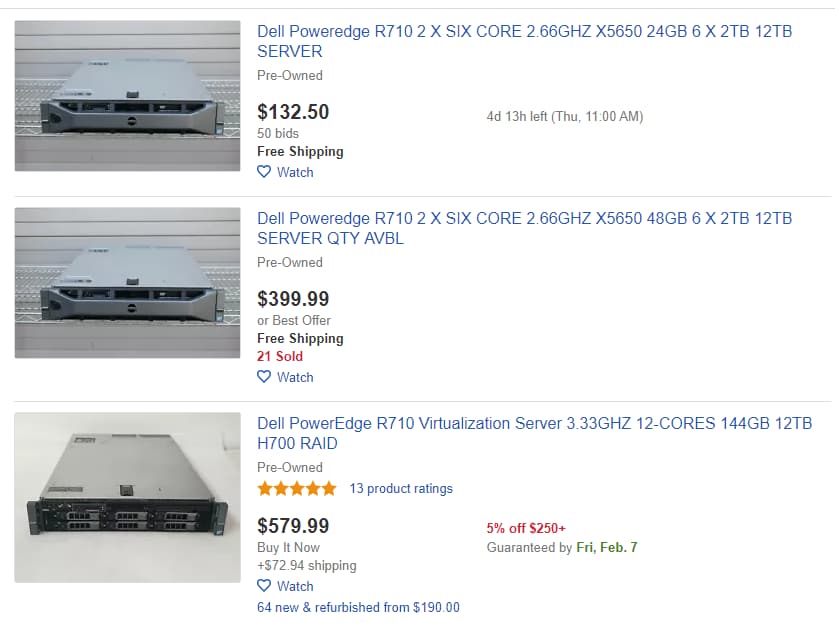
- Price - there are a lot of refurbished servers of the R710 variety readily available which fell in the sub-$500 range (including hard drives!)
- Formfactor - the R710 is a 2U type server (meaning it’s two “rackmount units” in height), and there are PCIe risers so you can add full-size add-in cards. Meaning it should be possible to add both my TV Tuner and a dedicated GPU.
- Configuration - There are a lot of different processor/disk drive configurations available, but the one I honed in on was getting a unit with 12 TB of storage, which seemed like a pretty sweet deal for the price.
The unit I ended up getting has the following specs:
- Dual 2.8GHz Intel Xeon processors (with 12 cores each)
- 48GB of DDR3 RAM
- PERC 6/I RAID Controller
- 12TB storage (6 SAS Hard Drives, 2 TB each)
- $345 “buy it now” price on eBay
The six hard drives is nice because of the integraded RAID controller. I set my unit up as a RAID 6 array, which gives me two full disks of redundancy. That means up to two disks can fail at the same time, and I won’t lose any data; I can just hot-swap in replacement drives.
Rack ‘Em Up
The first step I had to take when the server arrived was installing the TV tuner card, which I had removed from my main PC. This went off without a hitch.
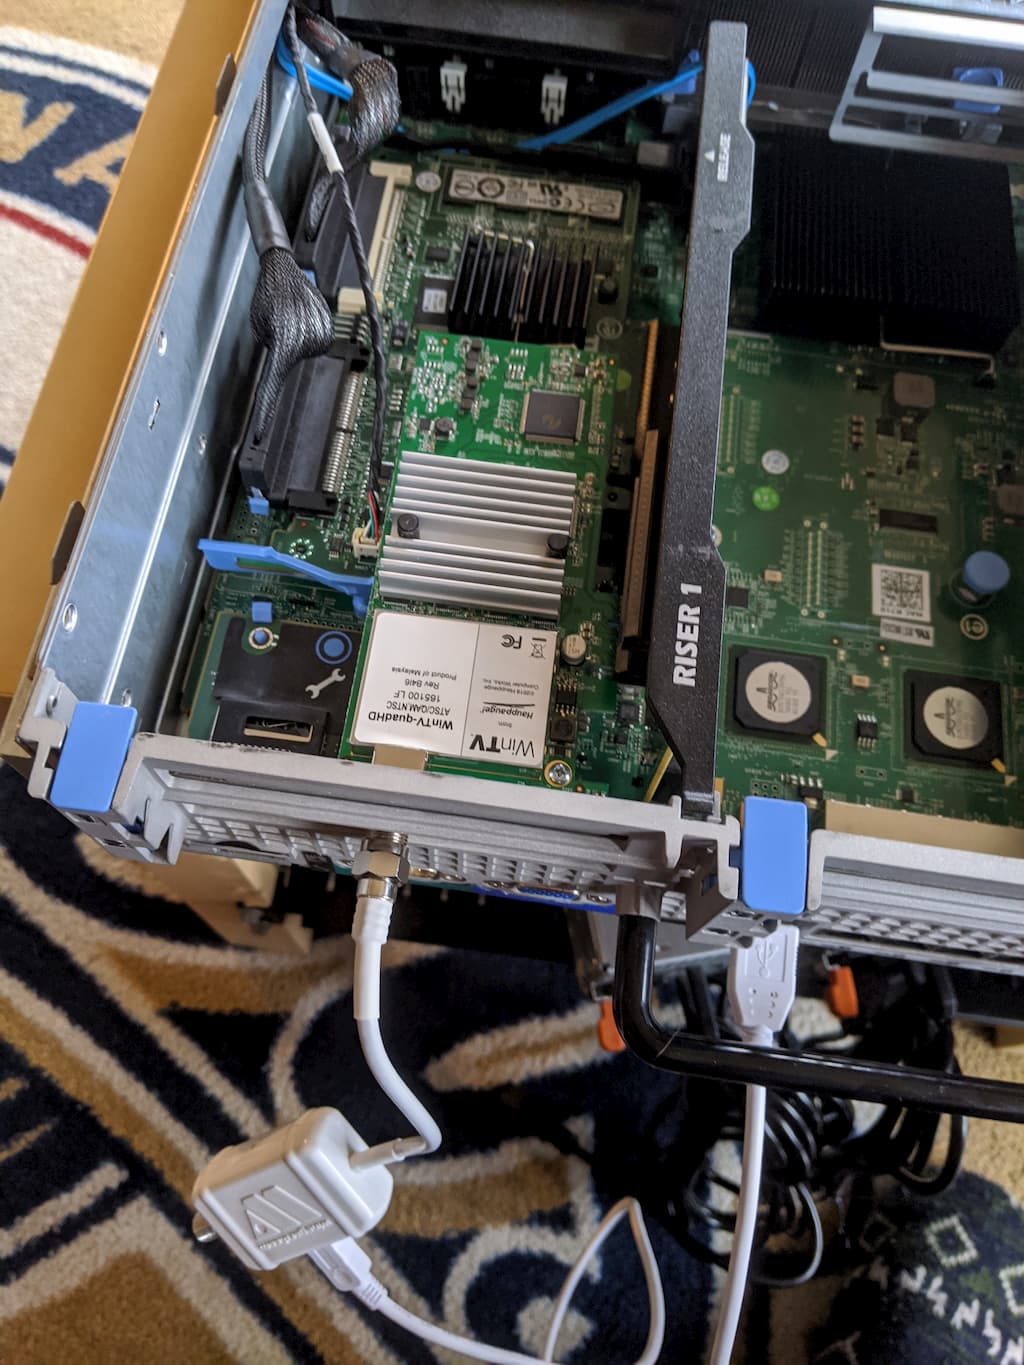
The next step (since I hadn’t picked up a GPU yet) was mounting the server (and the rackmount style UPS I also picked up) into the IKEA LACK table. For the UPS, I used some metal rackmount shelf things I picked up on Amazon.
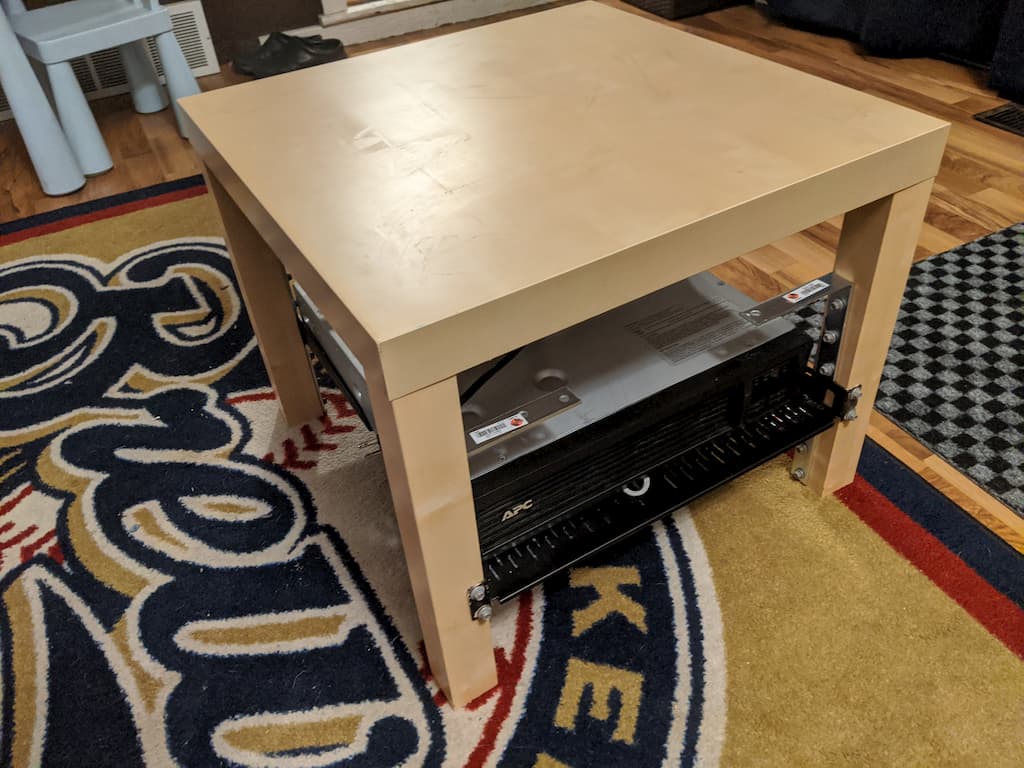
For the server itself, I just rested it on some L-brackets that I picked up at the hardware store.
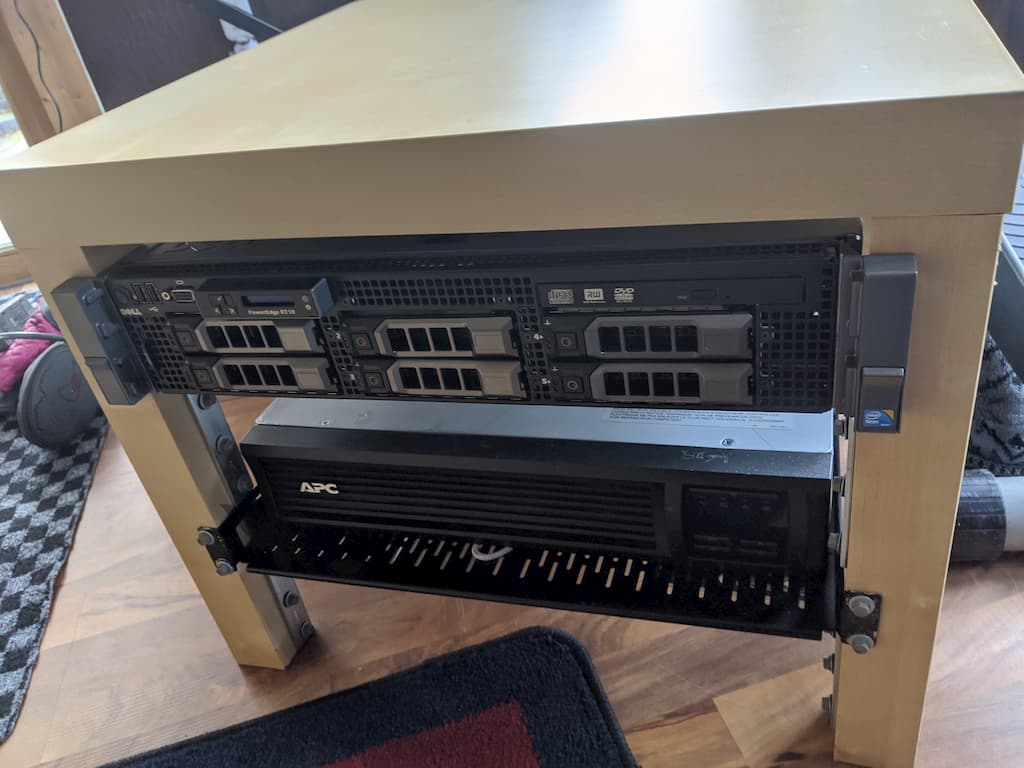
To Be Continued…
I now had my LACK Rack built. The next step was to get an OS installed on the thing, and install the GPU. There were some twists and turns along the way, which I will cover in Part 2.
