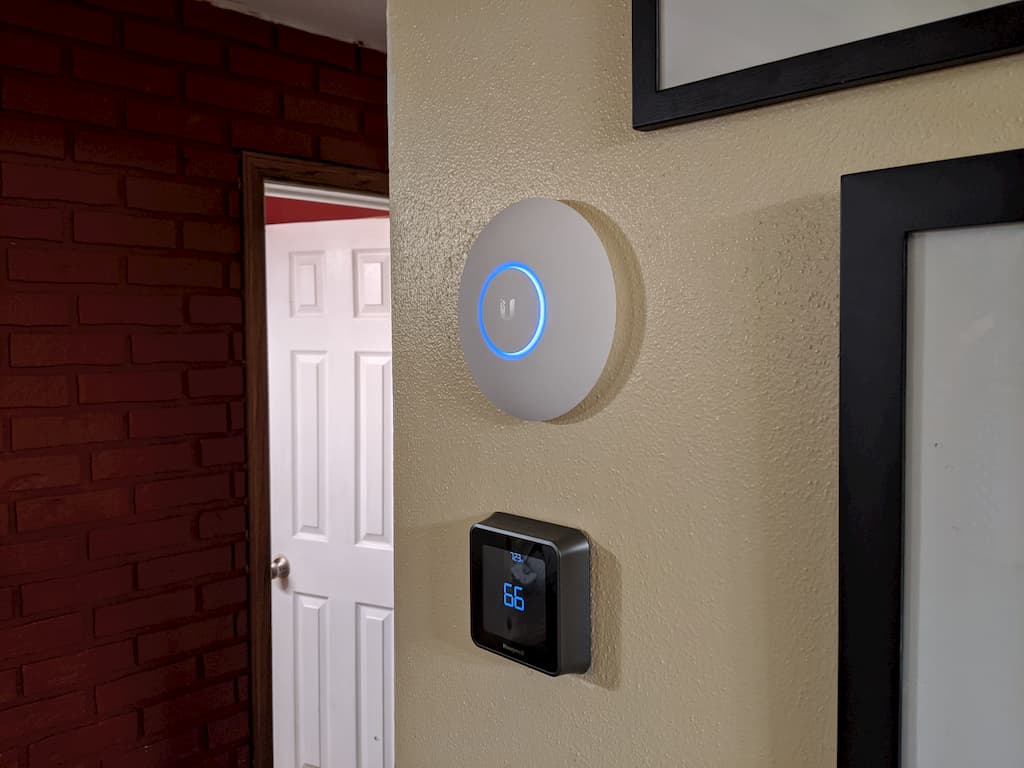
In 2018 I put in a smart thermostat, a Honeywell T5+, specifically. The thermostat works with an app called Honeywell Home that supports geofencing to detect when one or more users are home or away based on their device’s location services data.
This sounds neat, because it means you don’t have to always remember to turn off the heat every time you leave the house in the winter to avoid consuming (energy and money) to heat it all day while nobody’s even home. The downside is it requires installing the Honeywell Home app on every device you want to be tracked, and enabling always-on locations services for it. I would bet money that the location data that the app collects is also being sold to advertisers in addition to driving the thermostat’s geofencing feature.
I recently upgraded my home network to be all based on Ubiquiti Unifi devices, and while working on that project, I had a thought: why not base the home/away detection off of the device’s presence on the local Wifi, instead of location data? That way the device wouldn’t need to run any special app or leave location services enabled all the time.
Detecting the Devices
My first thought was that I might be able to run a little app (as a Windows Service) on my Plex server that checks for the presence of a set of MAC addresses on the local wifi and uses that to determine whether anyone is home or not.
I wrote up a little tool that used the Windows ‘ARP’ command-line utility and parsed the results.
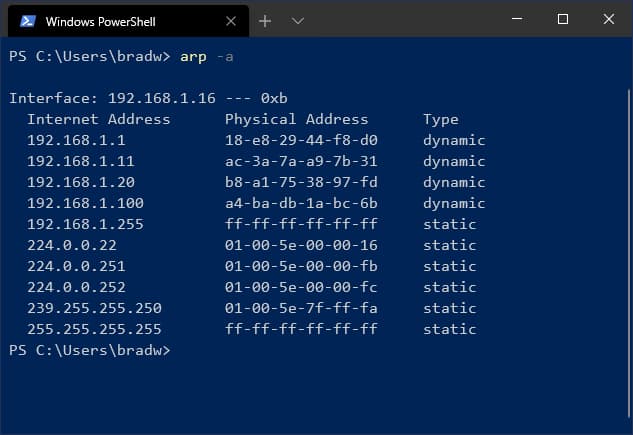
However, it turns out that you can only see MAC addresses of devices that have previously been connected to from the machine executing the command. So that was a no-go.
I resorted to detecting the devices via IP address, which meant I first had to assign static IP addresses on my local network to my and my wife’s phones.
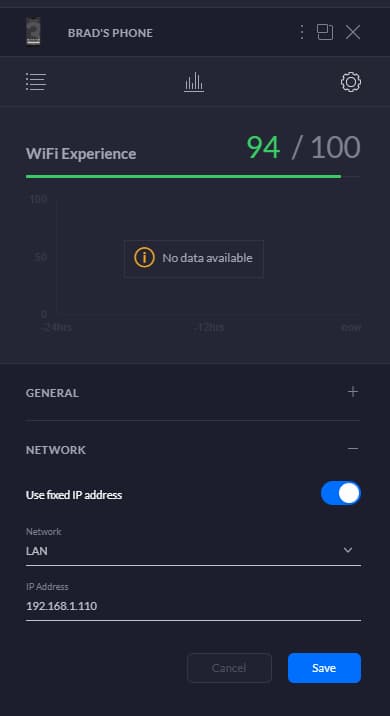
Now, in my little Windows Service app, I just had to ping a pre-set list of the static IP addresses to check if any are present on the network.
private static async Task<bool> PingDevices(IEnumerable<string> ipAddresses)
{
    foreach (var ipAddress in ipAddresses ?? Array.Empty<string>())
    {
        var reply = await new Ping().SendPingAsync(ipAddress);

        if (reply.Status.Equals(IPStatus.Success))
        {
            return true;
        }
    }

    return false;
}
This method loops through the IP address passed in and short-circuits as soon as it finds one that responds successfully.
Controlling the Thermostat
Originally I was envisioning directly controlling the thermostat with some kind of HTTP request, but it turns out that the only way to send a command to it is to first authenticate to it via OAuth 2.0, which requires opening a browser window so the user can enter their credentials and authenticate the app and such.
I could’ve theoretically set up a custom app to do this. Honeywell has a developer portal where you can do this for free, but you still need to implement a web endpoint to handle the callbacks and tokens and whatnot, and that seemed like entirely too much work for this little “nice to have” hobby project.
Then I thought I might be able to use one of the “smart assistants” that work with the thermostat (it supports Cortana, Alexa and Google Assistant), however with the specific thermostat I have, the only commands you can give via any of those are to set the temperature to a certain point… not “set away” or “set home” (you can apparently do that with the Ecobee line of thermostats, however).
So smart assistant integrations were out. Then I realized that IFTTT supports Honeywell Home as one of its service integrations, and you can trigger an IFTTT applet by sending an e-mail to a special trigger address. We had a winner!
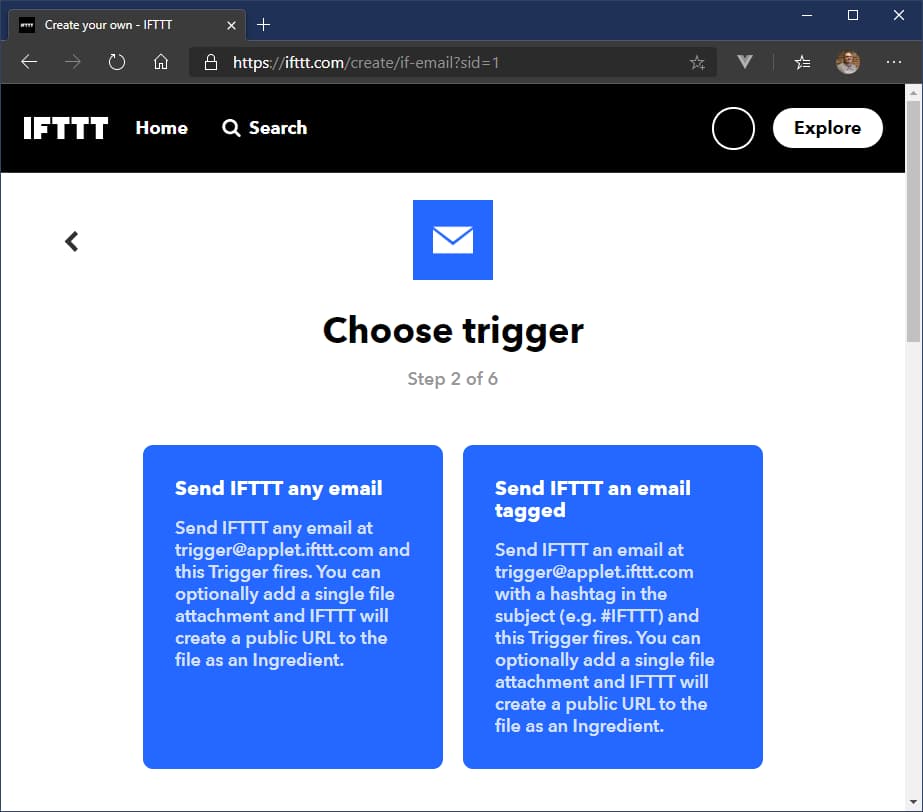
So, I decided to create two IFTTT applets, one would be triggered by my service sending it an e-mail with #home in the subject line, and the other would be triggered by sending it an e-mail with #away in the subject line.

So, the #away applet sets a “permanent hold” at 55 degrees fahrenheit (which is the same thing the Honeywell Home app’s geofencing did for “away”), and then the #home app sets a reasonable “setpoint temperature,” which effectively resumes the thermostat’s normal schedule.
Creating a Windows Service
IFTTT has an Android app that you can also set up to trigger IFTTT applets when your device connects or disconnects to a certain Wifi SSID, however that would trigger the change when one device connects or disconnects from the home network, and I wanted to only trigger “away” when all of a set of devices are gone, and trigger “home” as soona s any of them are present. Plus, that required running an app at all times on all the devices again.
I had my code to check for an IP address on the network, and my IFTTT applets set up, now I needed to create and install a Windows service on my Plex server to periodically check for the IP addresses on the network and e-mail IFTTT when the home/away status changes.
This tutorial on the Microsoft Docs site was extremely valuable in walking through the process of creating and installing a Windows Service with C#.
Essentially, aside from all the ceremony around Windows Services that the Visual Studio project template builds out for you, there are two methods you need to care about: OnStart() and OnStop().
Here is the OnStart implementation for my project:
private readonly CancellationTokenSource _cancellationTokenSource = new CancellationTokenSource();
private bool? _isDeviceDetected = false;

protected override void OnStart(string[] args)
{
    SetServiceState(ServiceState.SERVICE_RUNNING);

    Task.Run(async () =>
    {
        while (!_cancellationTokenSource.Token.IsCancellationRequested)
        {
            var isDeviceDetected = await DeviceDetector.IsDevicePresent(AppSettings.IpAddresses);

            if (isDeviceDetected != _isDeviceDetected)
            {
                _isDeviceDetected = isDeviceDetected;

                if (isDeviceDetected)
                {
                    Notifier.SetHome();
                }
                else
                {
                    Notifier.SetAway();
                }
            }

            await Task.Delay(TimeSpan.FromMinutes(5), _cancellationTokenSource.Token);
        }
    });
}
So, I’m kicking off an async Task that pings the IP addresses (passed in via an app settings in the project’s app.config file), and then calls the SetHome() or SetAway() method on my Notifier class, which sends an e-mail to IFTTT with the correct hashtag in the subject line. I set it to wait 5 minutes in between pings, but it could be shorter or longer depending on how quickly you want the changes to be detected.
In the OnStop() method, I request cancellation from the CancellationTokenSource object, which causes the while loop in the OnStart() method to break out, effectively ending the pinging.
protected override void OnStop()
{
    _cancellationTokenSource.Cancel();
    SetServiceState(ServiceState.SERVICE_STOPPED);
}
The SetServiceState() stuff is just stolen from the tutorial I linked above.
Installing the Windows Service
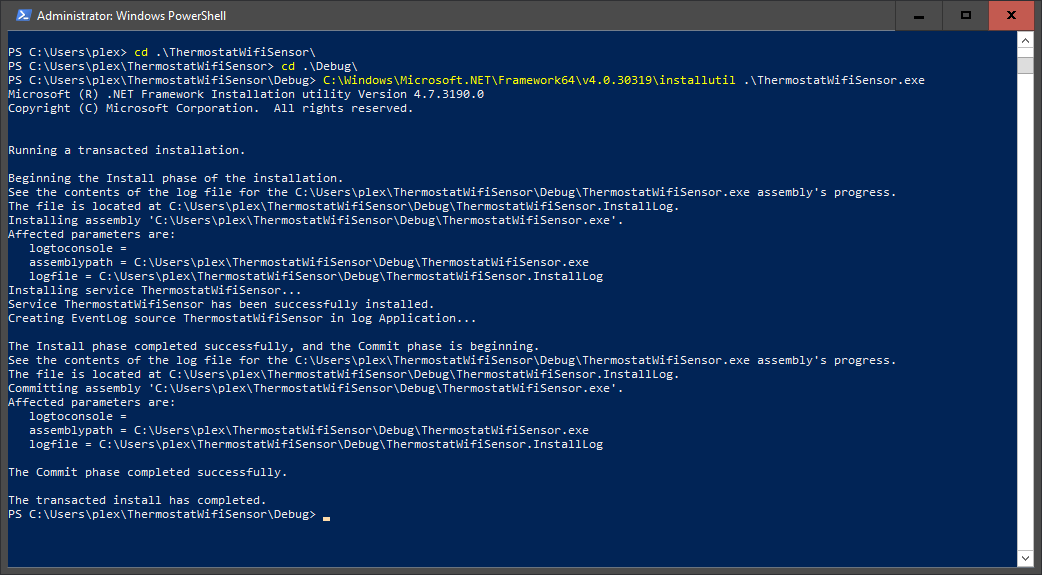
Installing the Windows Service is pretty painless, you just build the app and then install it using the installutil tool that comes pre-installed with the .NET Framework. The only caveat is that you have to install it from an administrative command prompt.
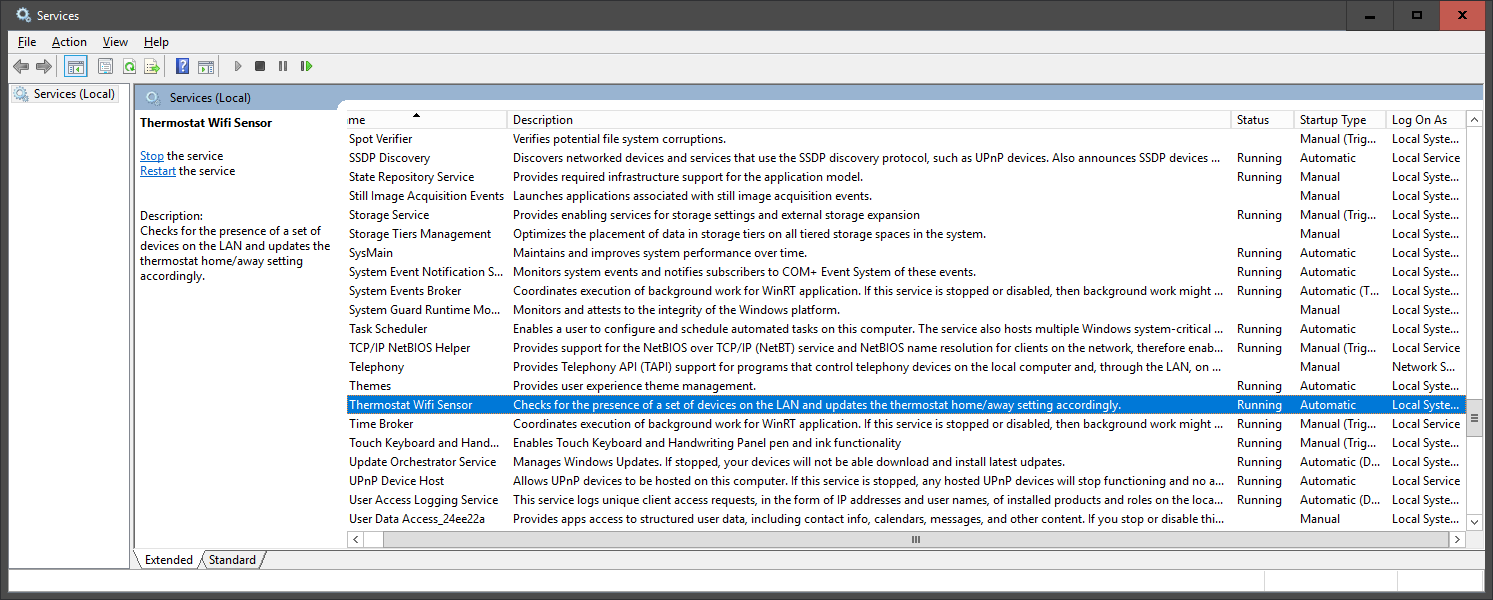
Installing the service makes it available on the system, but you still have to start it. Start -> Run -> services.msc opens the Services control panel, and from there you can find the new service in the list and start it (I also set it to autostart in the event the server reboots).
Once the service was started, I performed a highly scientific test wherein I disabled Wifi on both my and my wife’s phones for a few minutes, and watched the IFTTT activity screen.
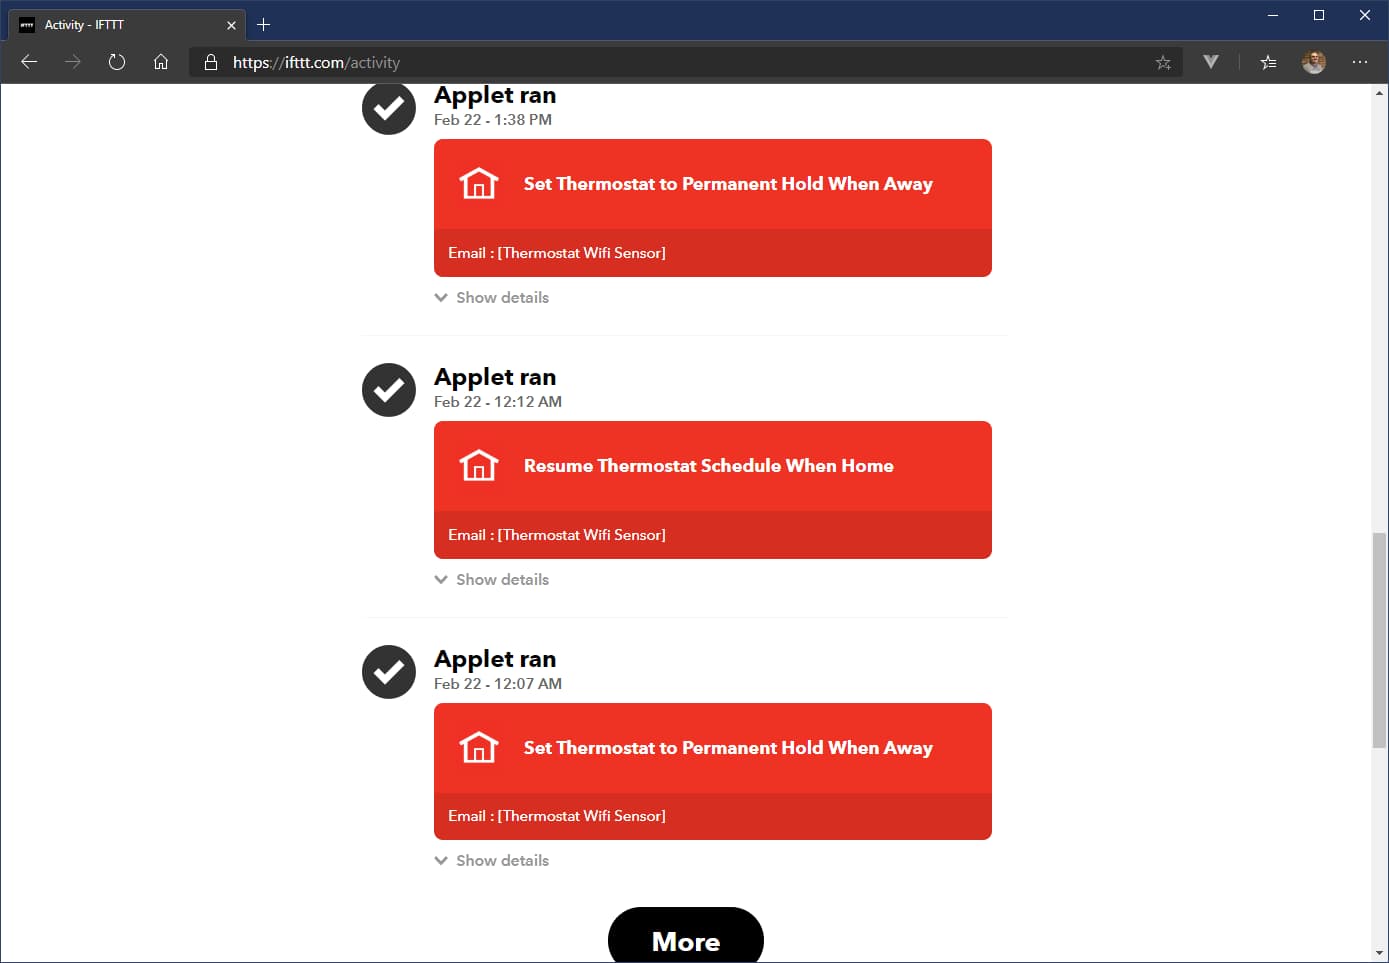
Success! My home HVAC system is now aware of when we’re home or away without needing to give always-on location access to anyone.
I kind of wish they offered this functionality by default, although setting up static IP addresses for the phones would probably be beyond the ken of most non-technical folk.
But, now I’m having more ideas for things that could be triggered this way, such as automatically closing or opening the garage door (if you have a smart garage door opener), or arming a home security system. The possibilities are endless!