I recently switched over my home network to all UniFi based gear, and I’ve had several co-workers and friends ask about it, there’s a bit of a learning curve to figure out what exactly you actually need to get a network put together with UniFi, so I figured I’d write up my thoughts in the form of a blog post so I can refer folks to it in the future.
The Basics
All the UniFi gear is “managed,” meaning it needs to be connected to a central “controller.” There are a few different options to accomplish this, and you can mix-and-match what you need to put your system together.
It’s a really flexible approach, but can lead to a bit of “analysis paralysis” when trying to determine what components you need.
If you think about a normal consumer Wifi router, it basically has these functions integrated into one unit:
- Software to let you configure your network (the controller)
- A hardware router (for routing traffic to the correct location on your network)
- A hardware switch (for enabling you to connect wired ethernet devices)
- A hardware wifi access point (for enabling you to connect wireless devices)
In the UniFi ecosystem, it’s best to think of these all as discrete functions, and the various pieces of hardware that Ubiquiti makes can fulfill them in different ways.
The Controller
First of all, you need to decide what type of controller you want to run. There are a few basic options.
Software
You can run the UniFi “Controller Software” on any machine that you already own. It doesn’t even need to be “always on,” it can just be a regular PC.
However, the software controller obviously won’t be able to collect statistics for perform automatic scheduled tasks if the machine it’s running on is turned off or goes to sleep.
Since I have an always-on server in my basement to run Plex, this is the option I went with.
One caveat to this approach is that, while the controller software can automatically upgrade the firmware of your various devices on a schedule, updating the controller software itself is a manual process. In my case, I have to remote into the server that I have running the software in the basement and execute an installer when there’s a new version.
If you go this route, you still need hardware to check the routing, switching and access point boxes.
Hardware
If you want to go with a hardware controller, there are a few different options.
Cloud Key

In UniFi terminology, the “Cloud Key” is basically just a Raspberry Pi that runs the controller software. This gives you a little more of a “plug and play” approach to running a controller, while still requiring separate routing, switching and access point hardware.
The Cloud Key “Plus” units are the same, but contain integrated hard drives which can be used to store video if you also plan to run Ubiquiti’s security cameras.
Dream Machine
The “Dream Machine” is the closest thing in the UniFi ecosystem to a traditional all-in-one consumer router. It’s essentially an integrated controller, router, switch and access point. If you just want to replace your old router with a single piece of hardware, this is probably the way to go.
Dream Machine Pro
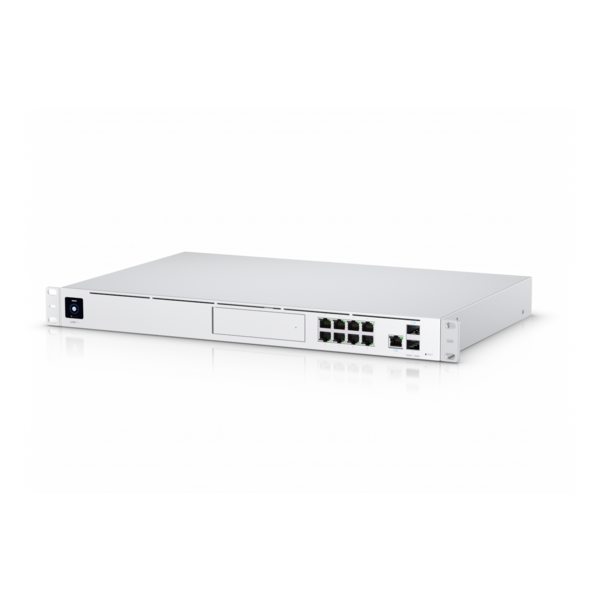
The Dream Machine Pro is a rackmount version of the Dream Machine. Like the Cloud Key Plus, it contains hard drives which can be used for storing security camera footage. However, unlike the non-Pro Dream Machine, it does not have an integrated Wifi access point, so you’ll still need a separate access point device if you plan to run one of these.
Personally, I think this is probably overkill, unless you do plan to run the security cameras.
Routing
UniFi likes to refer to their routing devices as “Security Gateways,” which can be a little confusing. But they’re really routers. Like the controller, there are a few options here.
Security Gateway
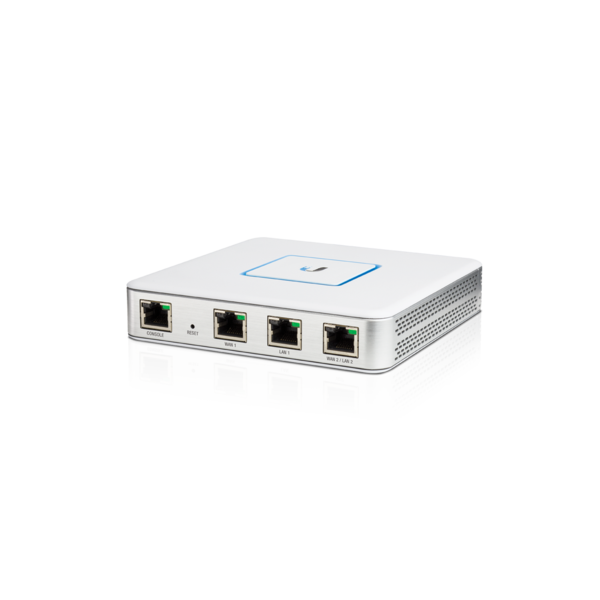
If you go with software or a Cloud Key for the controller, you’ll need a Security Gateway to perform routing functions on your network. If you go with one of the Dream Machine options, you don’t need this as it’s built into the Dream Machines (either normal or Pro).
The Security Gateway is the thing that sits between the internet and your local network. You plug your cable or DSL modem into the WAN port on the Security Gateway, and then connect the LAN port to a switch.
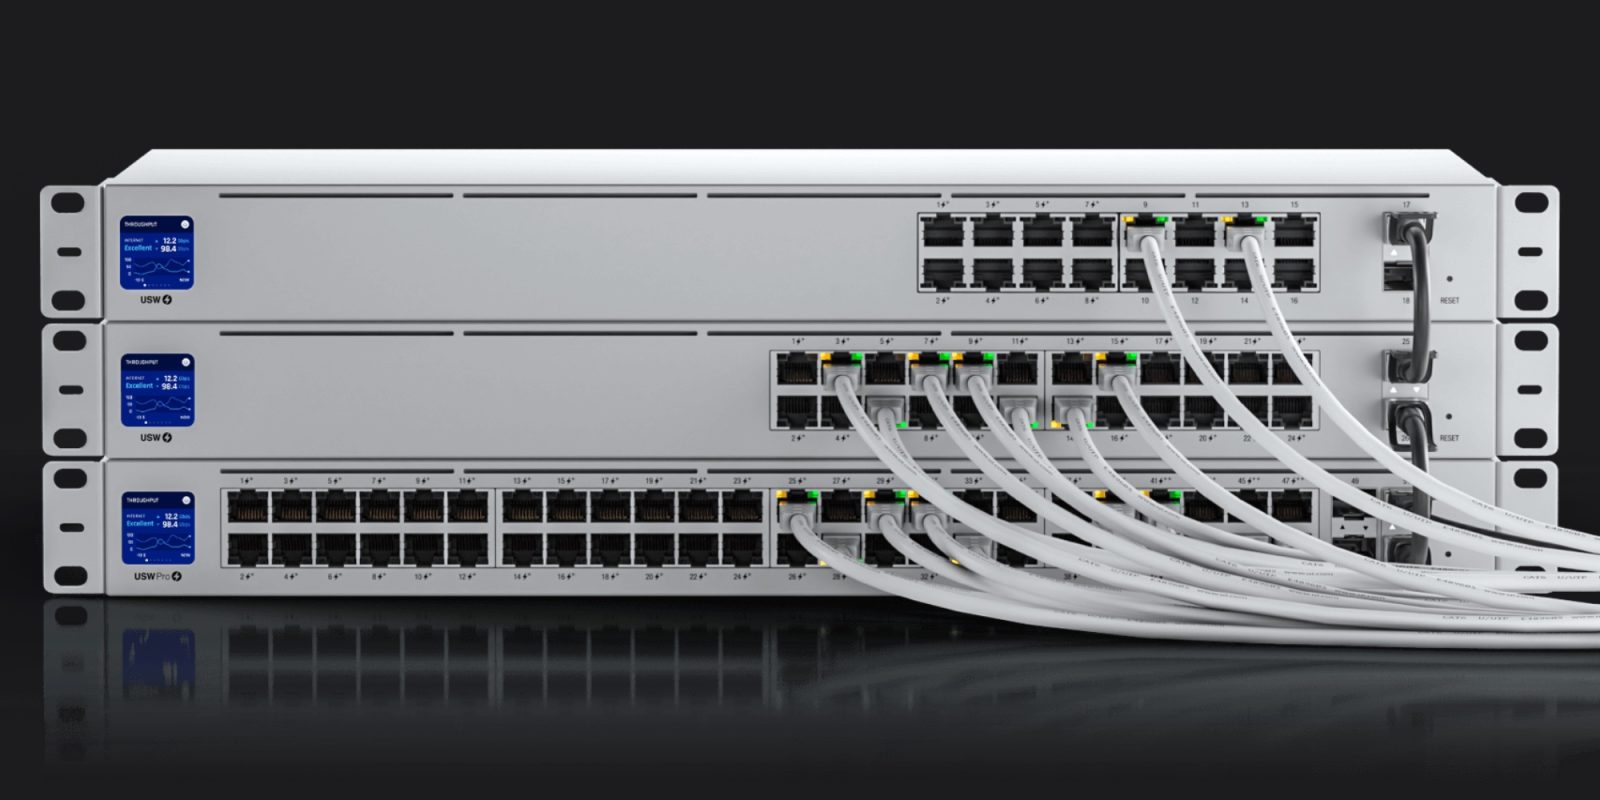
Switching
There are an embarrassment of switch options in the UniFi ecosystem. A whole bunch of various rackmount switches and a few more consumer-oriented options. Unless you have a truly stupid amount of hardware you plan to connect, I’d recommend either the newer 8-port UniFi Switch Lite 8 PoE, the UniFi Switch Lite 16 PoE.
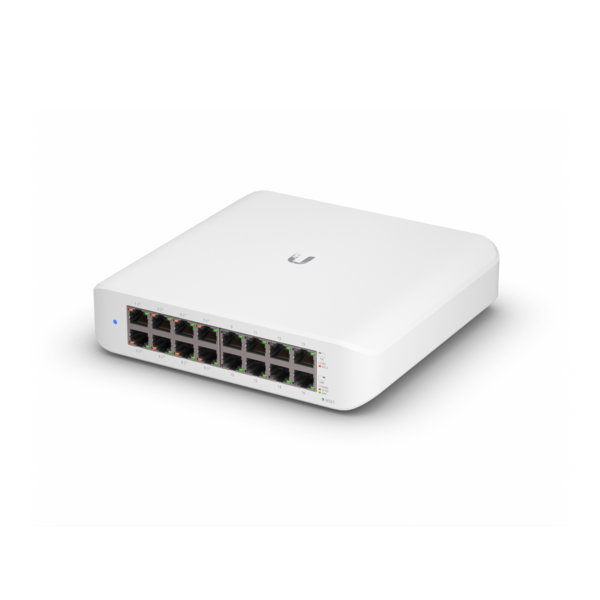
The main thing to keep in mind when selecting a switch is how many “power over ethernet” (PoE) ports it has. If you plan to run multiple PoE-powered access points or security cameras, you need to make sure that you’ve got enough ports that can run them available.
I wound up upgrading from the UniFi Switch 8 (on which only four of the ports inject PoE power) to the 16-port option (of which 8 ports inject PoE power). The beauty of PoE is that it enables you to wall or ceiling-mount your WiFi access points centrally - which results in vastly superior signal coverage - by running a single cable.
If you have a rack, you’ll probably want to choose one of the various rackmount options, but again the main thing is to pay attention to the number of PoE ports you need.
WiFi Access Points
The last part of your network you’ll need to take care of is WiFi coverage. Here again, there are an embarrassment of options. However, it’s important to pay attention to the capabilities of each.
All 802.11ac access points are not created equal. If you want to ensure the best coverage and throughput, you’ll want to make sure you pick a “Wave 2” access point that has MU-MIMO capabilities (this greatly increases throughput when multiple devices are connected simultaneously).
NanoHD
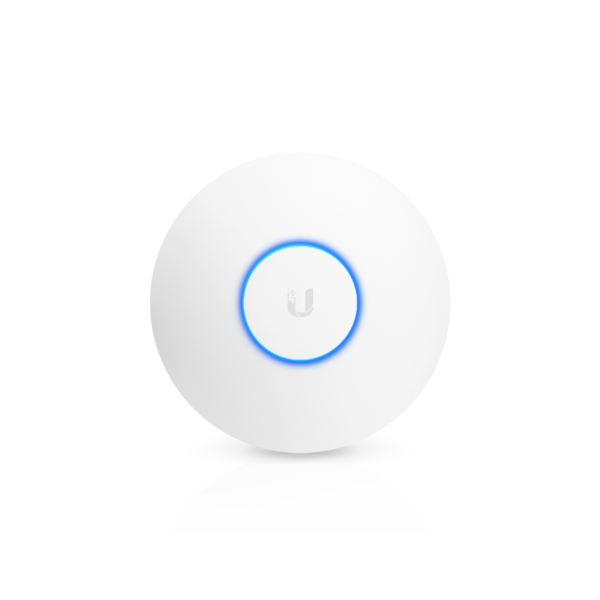
I would definitely recommend the NanoHD as sort of the default option when setting up a UniFi network. A single centrally located NanoHD has proven to have better coverage and throughput than any other WiFi router I’ve ever used.
I’d recommend just going with one of these and seeing how it performs before you go crazy purchasing a whole fleet of access points. The beauty of the UniFi system is you can always add more later if you have dead zones.
Most of the other access points that UniFi offers (the HD Access Point, the BeaconHD, the BaseStation, etc) are for specific special use-cases, and the NanoHD is probably really the one you want for most home uses.
In-Wall HD
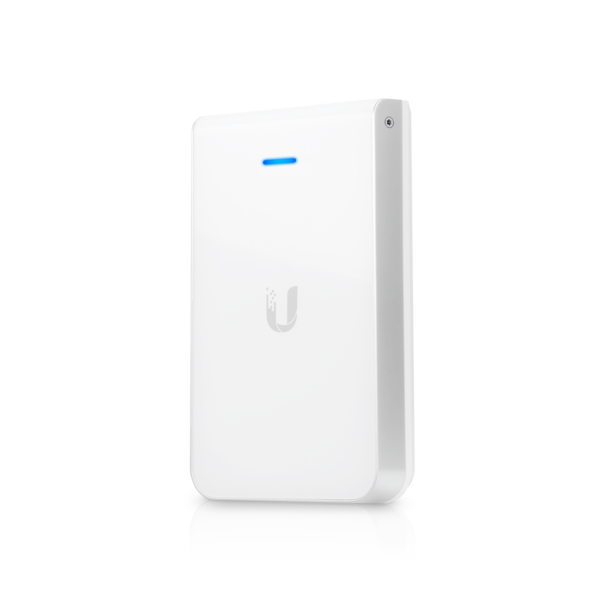
The In-Wall HD access point is a nice option if you’re running wired ethernet to your primary home-office or home theater - it’s a WiFi access point and a 4-port switch in one, all powered by PoE. It’s the same size as an electrical outlet and can be mounted in the same size wall opening. I wound up running wired ethernet to my “home office” and have my main PC plugged into one of these. The wifi radio is kind of a bonus.
My Network
Here’s my current setup, if it helps anyone else determine what they want to do for theirs:
Basement
- Security Gateway
- UniFi Switch 16 Lite PoE
- Software controller (running on Plex server)
The cable modem is plugged directly into the Security Gateway, which in turn is plugged into the 16-port switch, which then connects everything else.
First level
- NanoHD access point (mounted centrally near the thermostat)
- Switch Flex Mini (for wired ethernet to home theater system)
These are both powered via PoE from the 16-port switch in the basement.
Second level
- In-Wall HD access point (home office, for wired ethernet to main PC as well as better WiFi coverage on upper level)
This is powered via PoE from the 16-port switch in the basement.
Exterior
- Switch Flex mounted on outside wall
- FlexHD Access Point on rear of house (for backyard Wifi)
The Switch Flex is powered via PoE from the 16-port lite switch in the basement, and the FlexHD access point is powered via PoE passthrough from the Switch Flex.
“Flex,” as best as I can tell, is UniFi code for “can be used outdoors.”
Summary
While it can be a bit overwhelming, the real power of the UniFi approach is the ability to put wifi access points in the most optimal location for signal coverage in your home, as well as easily extending your network by running a single ethernet cable with the various PoE switches and access point offerings.
My final advice would be to get the “backbone” of your network set up first. Make sure you have the controller, routing and switching bases covered, and a single, centrally located access point. Then you can always extend from there, rather than blowing your budget on a bunch of additional access points you might not actually need.
Hopefully you found this guide useful!